Family Room Renovation
Finished Family Room

Our family room renovation has been a slow process since we moved into our house 3 years ago.
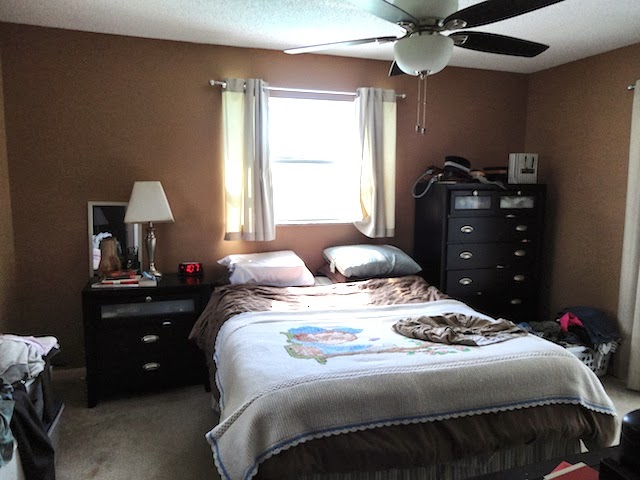
I am sharing my embarrassing photo of what our family room looked like before our Reno. The walls had a stucco like finish on them and some of our furniture were hand me downs. Before moving into our home we lived in a one bedroom condo, so we were very happy with any furniture we could get our hands on.


The first part of our Reno was getting new floors put down through out the house. There were old white square tiles in the house before we had wide plank tiles put down .

Before we demolished the walls in this room we covered up our beautiful new floors.


We found wood paneling behind some of the walls and plaster board behind others. The stucco like texture was due to the chicken wire that was also on the wall.


Through the demo we were careful to remove the crown molding so we could put them back up once the new walls were put in. Unfortunately we weren't so lucky when it came to the base boards. We had to install new base boards.


Putting the drywall up was easier then I expected.


We paid professionals to come in finish the drywall installation. We wanted smooth walls and you can only learn so much on Youtube.

We put up 2 coats of Primer.

I picked out my color for the walls and knew I wanted to add texture to the room. I love Wainscoting wall paneling and wanted to add that feature to this room. I used a semi gloss white paint where we were going to create our wainscoting.

I went to home depot and picked up the decorative molding we were going to use to create our picture frame boxes. Along with the decorative molding I picked up new base boards and chair rail to create our wainscoting.

We decided our Wainscoting would be 41" from the floor and calculated the space we wanted between our boxes. We taped out our boxes before we cut our moldings. We also taped them up before we nailed them to the wall to make sure we were happy with the spacing.

The finished walls now have crown molding, wainscoting and base boards.
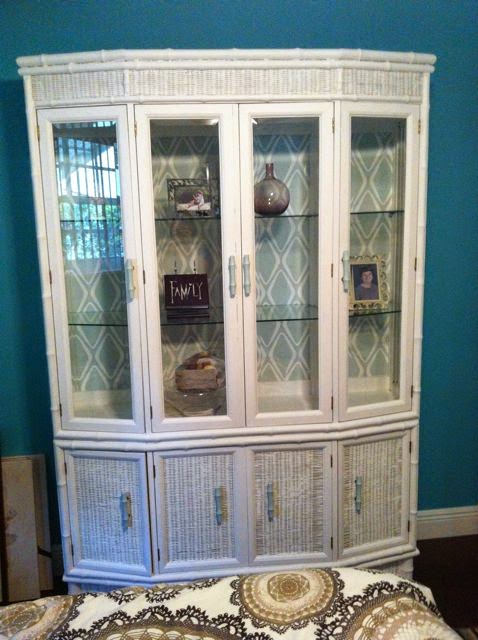
After new floors and walls we decided to go with a few new pieces of furniture. A lot of pieces in this room are items that I thrifted and redid. My first ever hutch makeover is in this room.

This room doesn't get a lot of natural light. We only have french doors that lead out to our screened in patio. So to make this room not feel like a cave we had Sol tubes put in. If you notice on either side of our ceiling fan it looks like we have pot lights but they are actually solar tube lights. Putting in the Solatubes has been the best thing we could have done in this room, the family room is now the brightest room in our house.


We changed the door that opens up into our laundry room. We have two cats so we customized our door with a cat door.
Looks AMAZING! You have great taste Jamie!
ReplyDelete